

Introduction – Preparation and fitting the Motorhome Floor in a Citroen Relay, Peugeot Boxer or Fiat Ducato
In this section, I share my experiences in preparing the van ready for conversion into a motorhome. I then explain how I fitted the motorhome floor.
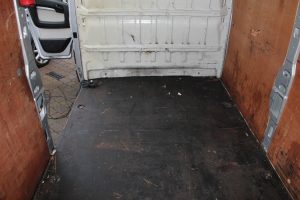
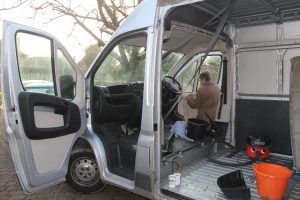
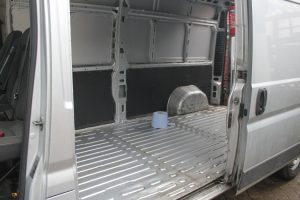
The first stage in the project was to fully clean and strip out all existing lining and the steel bulk head. This would give me the all important blank canvas. As with any secondhand vehicle, the van needed a deep clean. Indeed, this was especially important as the van had been used by an engineering company and was very oily.
My father, Paul is always keen to help on projects and his efforts assisting me cleaning the van were much appreciated! Between us, we used a range of products including white spirit, de-greaser and upholstery cleaner. However, the main requirement was sheer hard work. By the end of a very long weekend, I was left with a blank canvas and nice smelling upholstery.

Self Build motorhome: Fitting cab carpet.
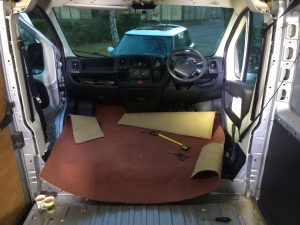
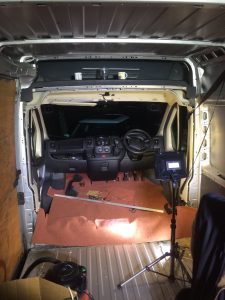
Finally, the unpleasant but necessary task of cleaning the van was complete! The next stage was to begin the installation of the motorhome floor. As part of the cleaning process, it was necessary to remove both front seats. This was the ideal opportunity to fit the carpet in the cab.
The carpet itself was second hand but in excellent condition and had been given to me by an aunt who had recently refurbished her house. My carpet was a maroon coloured dense pile with hessian back. The colour and inherent strength would be more than adequate for the purpose.
To ensure that the carpet would not move whilst driving or walking over it, I ensured that the fixings used to hold the plastic trim in place passed through the carpet. I also used the off-cuts to line the three shelves above the glove-box and am very happy with the results.
Self Build motorhome: Fitting rear floor
Once the cab was reassembled, I turned my attention to constructing the floor in the living accommodation. My design included installing the lightweight interior from a caravan. These units rely on a solid floor for their strength. I therefore took the decision to use 12mm ply which whilst heavier than 9mm ply, would give me a solid base to work from.
Support Framework.
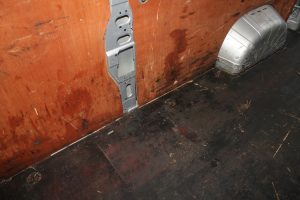
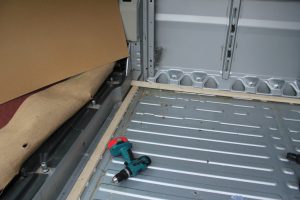
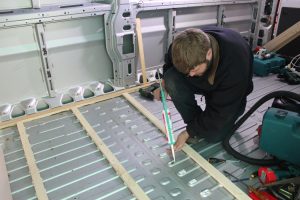
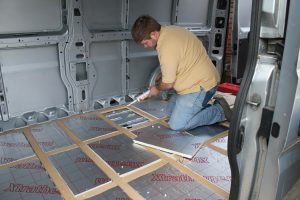
First, I set about installing 26mm thick battens across the floor at regular intervals. This would allow for a layer of 25mm insulation board between them. Since the 8×4 sheets of ply were to lay across the van, I ensured that there were battens at 1220mm and 2440mm centres from the front. To avoid squeaks, I took care to cut each batten around 3mm short. This would ensure that they would not rub against each other. In addition I bedded each batten in silicone to isolate them from the floor. Each batten was screwed through the floor with stainless steel screws, again sealed with silicone sealant.
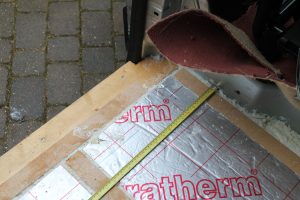
Insulation Board
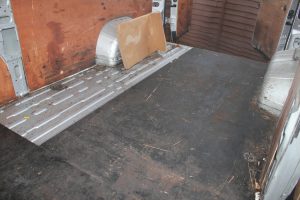
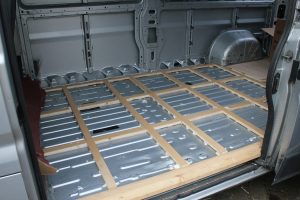
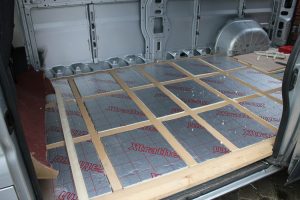
After the battens were installed, I filled any remaining holes (from where the original van’s floor had been fixed) using silicone sealant. I then set about installing the insulation board. Here I chose to use 25mm closed cell insulation board. Mine was branded as Xtratherm, Celotex, but there are many different suppliers.
I used 2 ½ 4×8 sheets at a cost of £23 each. My rationale behind using such board was its impervious to water and could be easily cut using an old carving knife. Again, each piece of insulation board was installed on a bed of silicone sealant. I included a 10mm gap around each side to fill with foam. I have since found that this extra step has been worthwhile as there are no squeaks from the floor at all.
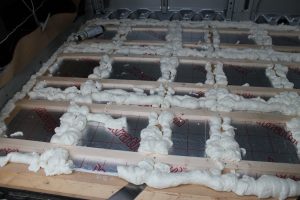
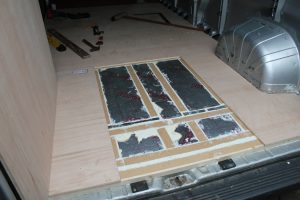
Expanding Foam.
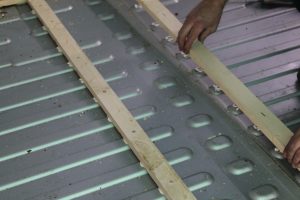
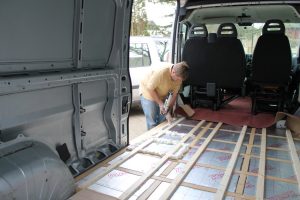
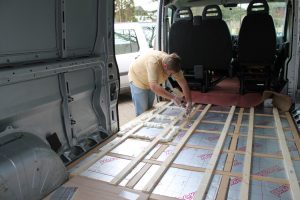
Once the insulation board was installed, the next stage was to seal around the edges with expanding foam. I was however concerned that the foam would expand below the board. In order to reduce this risk, I decided to temporarily fix battens across each board. These battens would hold the insulation in place until the foam had finished expanding – It worked…
I tried a number of different foams and found that Screwfix’s cheapest ‘no-nonsense expanding foam’ was excellent and highly recommended. The foam is a messy product and wearing gloves is a must. It is very important to wear a mask (I am not in these photos but did from immediately after the photo was taken) as it is poisonous. I allowed 24 hours for this to set before removing the supporting battens and trimming the excess foam. An old 9” carving knife was great for this task! It is important to note that I kept all of the excess foam as I intended to use this later.
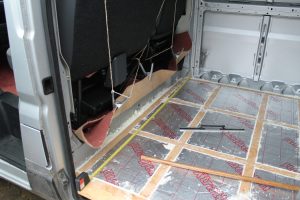
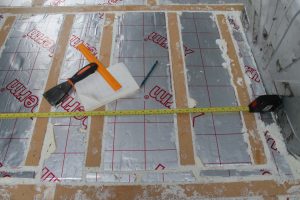
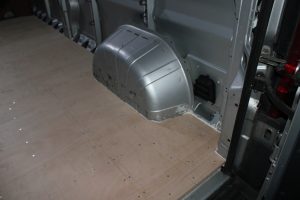
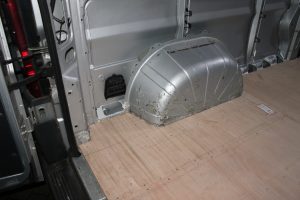
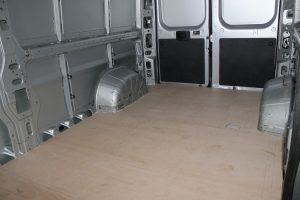
Ply Boarding
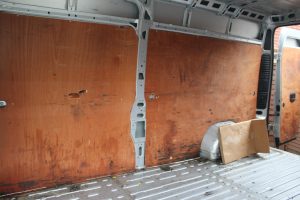
Now I had a fully insulated floor, it was time to install the 12mm ply boards. I knew that I would want to fix things to the floor at a later date and so I took a series of photographs with a tape measure laying across the floor to show where each batten was located. The ply boards were simply marked out and cut using a panel saw and fixed in place with 8x 1 1/2 “ screws at 150mm centres. Unfortunately my memory card became corrupted and the photographs cutting the ply have been lost. I checked each screw was tight and then sealed around the wheel arches using more silicone sealant before sweeping the floor and declaring the floor finished!
YouTube Video
The following video provides a summary of the work carried out in preparing the van for conversion as well as the installation of the floor. Please like and subscribe to my YouTube channel to keep up to date with lots more relevant videos!
Part 2:
In the next section, I explain how I insulated and lined the walls.
Part 2: Motorhome Lining
Why not subscribe to keep up-to-date with my progress?
Copyright. © 2020 Van and boat. All rights reserved.